How to Fix a Leaky Single-Handle Faucet (Cartridge Replacement)
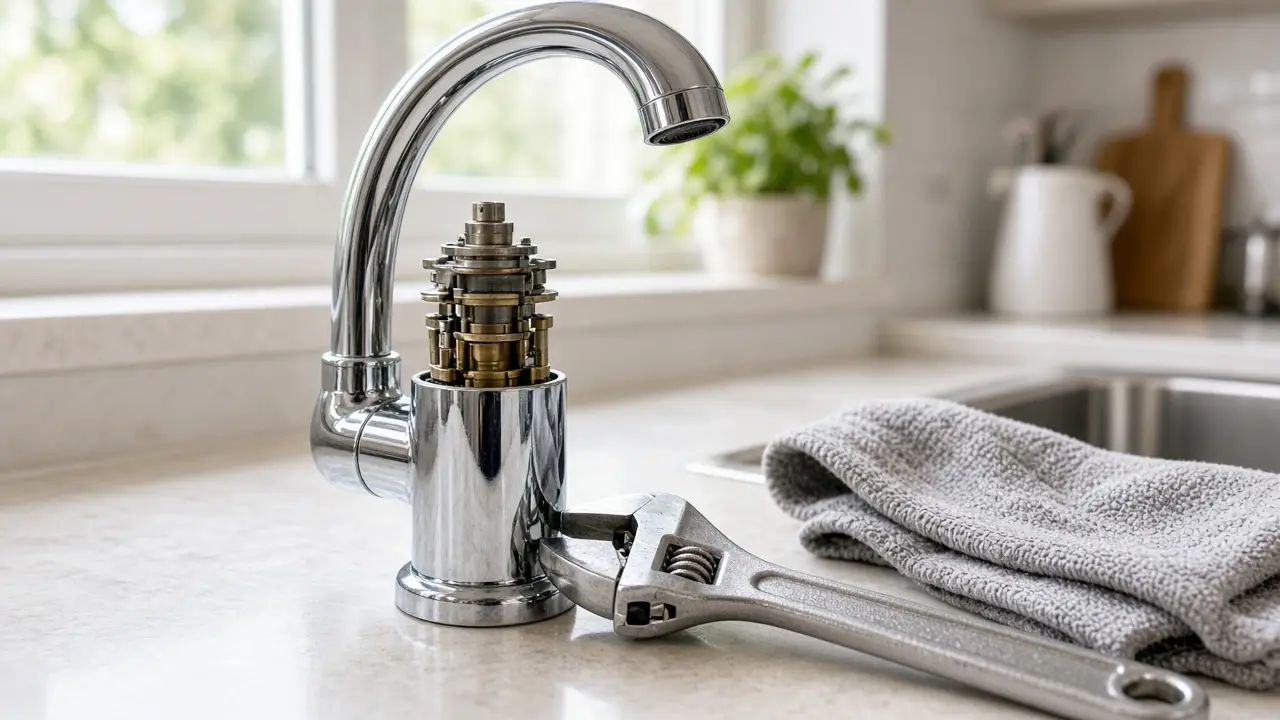
A dripping faucet wastes water and keeps you awake at night. On modern single-handle faucets, the most common cause is a worn cartridge, the part inside the faucet body that controls water flow and temperature. Replacing it is a manageable DIY repair. This guide covers the typical process; always follow your faucet manufacturer's instructions when they differ.
Which type of faucet do you have?
Single-handle faucets usually use one of these designs:
- Cartridge: The most common modern design. A cylindrical cartridge inside the body moves up and down, and rotates to change temperature.
- Ceramic disc: Two ceramic discs slide against each other. Repair is similar to a cartridge (you replace the disc cartridge).
- Ball: A rotating metal or plastic ball with seals and springs, found on some older faucets. Repair kits include seals, springs and sometimes a new ball.
This guide focuses on cartridge and ceramic disc faucets.
Tools and materials
- Replacement cartridge matched to your faucet brand and model
- Allen wrench set (many handles use a small hex set screw) and/or Phillips screwdriver
- Adjustable wrench or channel-lock pliers
- Needle-nose pliers (for retaining clips)
- Small flat-head screwdriver
- Rag or towel and a sink stopper or plug
- White vinegar and an old toothbrush (for mineral buildup)
- Plumber's silicone grease (if your cartridge instructions call for it)
- Phone camera (for photos of each step)
Step 1: Turn off the water
Close both shutoff valves under the sink by turning them clockwise. Open the faucet to release pressure and confirm the water is off. If there are no shutoff valves, turn off the main water supply to the house.
Step 2: Protect the drain
Close the sink drain or cover it with a rag. Tiny screws and clips have a way of disappearing down drains.
Step 3: Remove the handle
- Look for a decorative cap on the handle, often red/blue. Pry it off gently with a small flat screwdriver.
- Under the cap, or on the side or underside of the handle, find the handle screw or set screw.
- Loosen it with an Allen wrench or screwdriver and lift the handle off.
Take a photo at each step so you can reassemble everything in the right order.
Step 4: Remove the trim and retaining hardware
- Unscrew or lift off any decorative cap or dome over the cartridge.
- Some faucets hold the cartridge with a retaining clip: a U-shaped metal clip. Pull it out with needle-nose pliers.
- Others use a retaining nut or bonnet nut. Loosen it with an adjustable wrench, protecting the finish with a rag.
Step 5: Pull out the cartridge
- Note the cartridge's orientation; many have a tab or marking indicating hot/cold position. Take a photo.
- Grip the cartridge stem with pliers and pull straight up. Some cartridges are snug and need gentle twisting back and forth.
- Some brands require a special cartridge puller tool for stuck cartridges. Check the manufacturer's site.
Step 6: Clean the faucet body
Look inside the faucet body with a flashlight. Clean away mineral deposits with a toothbrush and a little white vinegar. Wipe it dry. Check that no pieces of old seal are stuck inside.
Step 7: Install the new cartridge
- Compare the new and old cartridge to confirm they match.
- If instructions call for it, apply a thin layer of plumber's silicone grease to the O-rings.
- Insert the cartridge in the same orientation as the old one. Push it down until it's fully seated.
- Reinstall the retaining clip or nut. Tighten the nut snugly, but don't overtighten.
Step 8: Reassemble and test
- Reinstall the trim cap, handle, and handle screw.
- Remove the drain cover.
- Slowly open the shutoff valves.
- Turn on the faucet and let it run for a minute to flush air and debris.
- Check hot and cold. If they're reversed, turn the water off, remove the handle, and rotate the cartridge 180 degrees (on cartridges designed this way).
- Watch for drips over the next several hours.
If it still drips
- Cartridge not seated fully: Remove and reseat it.
- Worn seats and springs: Some faucets have small rubber seats and springs at the base of the cartridge opening that also need replacing.
- Aerator debris: If flow is weak, unscrew the aerator at the spout tip and rinse out debris.
- Leaking from the base or spout, not the tip: That's usually worn O-rings on the spout. Replace them.
Using your warranty
Many faucet brands offer lifetime limited warranties on parts for the original owner. Before buying a cartridge, check the manufacturer's website; you may be able to get a replacement part for free.
Safety notes
- Turn off water before removing anything.
- Protect chrome and other finishes from wrench marks with a rag.
- Don't overtighten plastic or brass parts; they can crack or strip.
When to call a plumber
- The shutoff valves under the sink won't close or leak.
- The faucet body is cracked or corroded.
- You can't identify the faucet brand or find parts.
- There's a leak under the sink in the supply lines or drain.
A new cartridge usually costs less than a new faucet, and replacing it often takes under an hour.
Related guides
- How to Fix Low Water Pressure in a Faucet by Cleaning the Aerator
- How to Fix a Running Toilet: Flapper vs. Fill Valve
Sources and further reading
- EPA WaterSense: Fix a Leak Week
- EPA WaterSense: Bathroom faucets
- Your faucet or toilet manufacturer's parts diagram and repair instructions
Sources checked October 23, 2026. If something here does not match your product's manual, follow the manual and let us know.
Frequently asked questions
How do I know which cartridge my faucet uses?
Find your faucet's brand and model number (on the original paperwork, under the sink, or on the manufacturer's website using photos), then buy the matching cartridge. Taking the old cartridge to the store also works.
Why does my faucet still drip after replacing the cartridge?
The new cartridge may not be fully seated, the retaining clip or nut may be loose, or the valve body seats may be worn or dirty. Some faucets also have separate seals and springs that need replacing.
Is a faucet drip worth fixing?
Yes. The EPA's WaterSense program notes that household leaks waste a significant amount of water nationwide, and a steady drip adds up on your water bill over time.
Can I fix a faucet without turning off the main water?
Usually yes. Most sinks have shutoff valves under the sink. If yours don't, or they won't close, turn off the main water supply.