How to Patch a Hole in Drywall (By Hole Size)
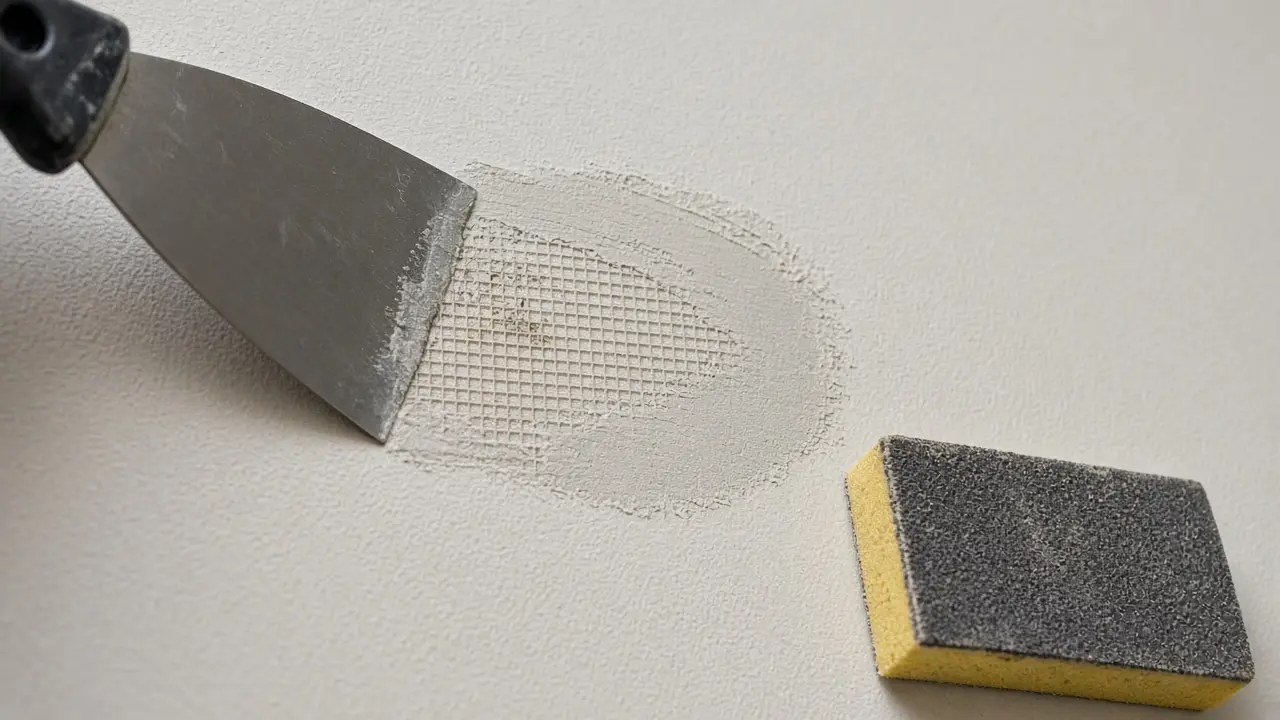
Holes in drywall are inevitable: anchors pulled out of the wall, a doorknob that swung too hard, a moved TV mount. The good news is that patching drywall is very forgiving. The right method depends mostly on the size of the hole. This guide covers three sizes and the technique for each.
Tools and materials
Depending on the hole size, you'll need some of these:
- Lightweight spackle (for small holes)
- Pre-mixed all-purpose or lightweight joint compound (for larger patches)
- Putty knives: a 1.5-inch to 2-inch and a 6-inch; a 10-inch knife helps on large patches
- Self-adhesive fiberglass mesh patch (for holes about 1 to 6 inches)
- Scrap drywall matching your wall thickness (commonly 1/2 inch), plus 1x3 or 1x2 wood furring strips and drywall screws (for large holes)
- Drywall saw and utility knife
- Drill/driver
- Sanding sponge or 120 to 150 grit sandpaper on a block
- Primer and matching paint
- Drop cloth and a damp cloth
- Dust mask and safety glasses
Before you start: check what's behind the wall
Before cutting into drywall for a large repair, make sure there are no wires or pipes in the way. Look into the hole with a flashlight, and cut shallowly. Turn off the circuit if there's an outlet or switch nearby. Avoid cutting near plumbing fixtures without checking.
Older homes: If your home was built before 1978, painted surfaces may contain lead. The EPA advises using lead-safe work practices when sanding or cutting painted surfaces in pre-1978 homes. Test kits are available, or hire an EPA-certified renovator.
Small holes (nail holes, screw holes, small dents under 1/2 inch)
- Prep: Scrape away loose paper and push any protruding bits flat. If a screw or anchor is sticking out, remove it, or drive it slightly below the surface.
- Fill: Press lightweight spackle into the hole with a small putty knife. Scrape across it at an angle to leave the filler flush.
- Dry: Lightweight spackle dries quickly on small holes. Check the label.
- Sand: Lightly sand flush with a fine sanding sponge.
- Second coat if needed: Spackle can shrink slightly in deeper holes. Apply a thin second coat if there's a dimple.
- Prime and paint.
Medium holes (about 1 to 6 inches, like doorknob holes)
A self-adhesive mesh patch is the easiest method here. Kits include a mesh square, often reinforced with aluminum.
- Clean the edges: Trim torn paper and crumbled gypsum with a utility knife so the edges are firm. Sand the surrounding area lightly so the patch lies flat.
- Apply the patch: Center it over the hole and press it down firmly. It should overlap solid drywall by at least an inch on all sides.
- First coat: With a 6-inch knife, spread a thin coat of joint compound over the patch, pressing it through the mesh. Extend a couple of inches beyond the patch edges. Keep it thin; heavy coats crack and take forever to dry.
- Dry fully. Drying time depends on the product and humidity, often several hours.
- Second coat: Lightly knock down any ridges with the knife or a quick sanding. Apply a second thin coat, feathering it wider, several inches past the first. Feathering means applying more pressure on the outer edge of the knife so the compound tapers to nothing.
- Third coat if needed: A third, wider skim coat helps make the patch invisible.
- Sand: Once dry, sand lightly with a sanding sponge. Run your hand over it; you should feel no edges. Shine a flashlight across the wall at a low angle to reveal bumps.
- Prime and paint. Wipe off dust first.
Large holes (over about 6 inches)
For big holes, you'll install a new piece of drywall supported by wood backing.
- Cut a clean opening: Draw a square or rectangle around the damage. Cut along the lines with a drywall saw. Cut carefully and shallowly near the top and sides in case of hidden wires.
- Add backing: Cut two wood strips a few inches longer than the opening's height. Slide each into the hole along the left and right edges so they're half behind the drywall and half exposed. Hold firmly and fasten through the wall into the strips with drywall screws, set just below the surface.
- Cut the patch: Cut a piece of drywall to fit the opening, leaving a small gap (about 1/8 inch) around the edges.
- Fasten the patch: Screw the patch into the wood strips. Sink screws slightly below the surface without tearing the paper.
- Tape the seams: Apply a thin coat of joint compound over the seams, then embed paper drywall tape or use self-adhesive mesh tape. Smooth tape with a 6-inch knife, squeezing out excess compound.
- Coat and feather: Apply two or three increasingly wider coats over the tape and screw heads, letting each dry and knocking down ridges between coats.
- Sand, prime and paint.
Matching texture
Many walls have texture (orange peel, knockdown). A smooth patch on a textured wall stands out. Aerosol texture spray cans are available for small repairs; practice on cardboard first to match the pattern before spraying the wall.
Common mistakes and how to avoid them
- Thick coats: cause cracks and long drying. Use several thin coats instead.
- Not feathering wide enough: leaves a visible bump. Each coat should be wider than the last.
- Skipping primer: creates "flashing," where the patch looks dull or shiny compared to the rest.
- Over-sanding: can scuff the drywall paper and make it fuzzy. Sand lightly. If the paper fuzzes, seal with primer and skim again.
- Painting a small spot: paint touch-ups often show, especially on older paint. Painting the wall from corner to corner gives the best result.
Safety notes
- Wear a dust mask when sanding. Joint compound dust is fine and irritating.
- Wear safety glasses when cutting and sanding overhead.
- Check for wiring and pipes before cutting.
- Follow lead-safe practices in pre-1978 homes.
When to call a pro
If the hole is from water damage, look for the leak first; patching over wet or moldy drywall won't last. Large areas of damage, cracks that keep returning (which may indicate structural movement), or ceiling holes may be better handled by a drywall contractor.
Patching drywall rewards patience more than skill: thin coats, full drying time, wide feathering and primer.
Related guides
- How to Recaulk a Bathtub: Step-by-Step for a Clean, Watertight Seal
- Door Won't Latch? How to Fix Strike Plate Misalignment
Sources and further reading
- EPA: Lead Renovation, Repair and Painting program
- EPA: Protect your family from sources of lead
- The joint compound and primer manufacturer's label for drying and recoat times
Sources checked October 23, 2026. If something here does not match your product's manual, follow the manual and let us know.
Frequently asked questions
What's the difference between spackle and joint compound?
Spackle is a ready-to-use filler for small holes and dents that dries quickly and shrinks little. Joint compound (mud) is used for taping seams and larger patches and is applied in multiple thin coats.
How long does drywall patch need to dry before painting?
It depends on the product, coat thickness and humidity. Lightweight spackle can dry in under an hour for small holes; joint compound coats often need several hours to overnight. Follow the label.
Do I need to prime a drywall patch?
Yes. Unprimed patches absorb paint differently and often show as a dull spot ('flashing'). A coat of primer over the patch helps the paint match.
Why can I still see my patch after painting?
Usually the patch wasn't feathered wide enough, wasn't sanded smooth, or wasn't primed. Texture differences also show; match any wall texture before painting.