How to Fix Drywall Nail Pops (So They Stay Fixed)
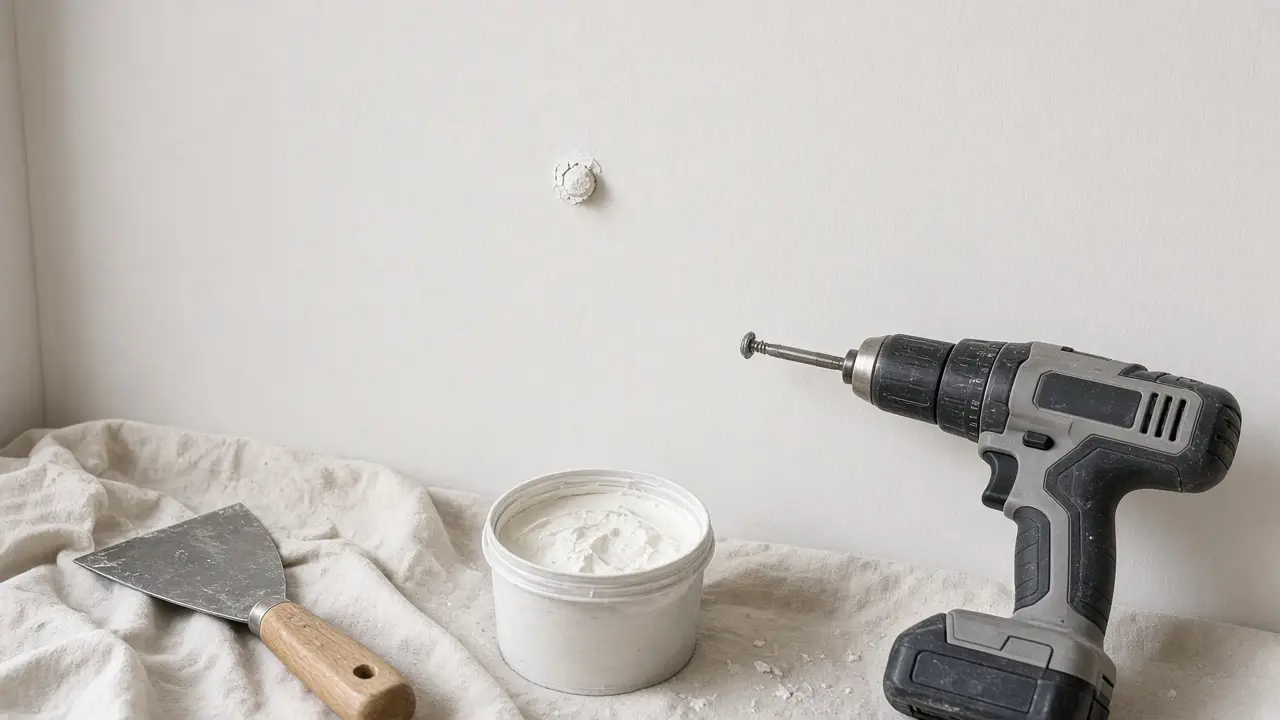
A nail pop is a small round bump, or a crack in a circle, where a drywall nail or screw head is pushing out through the paint. It looks bad, but it is one of the easiest drywall repairs there is, and the fix takes more patience (waiting for compound to dry) than skill.
The catch is that just hammering the nail back in usually doesn't last. This guide covers why pops happen, when it is smarter to wait, and the repair that the Gypsum Association and USG describe: re-attach the panel with a new fastener, then deal with the old one.
Why nail pops happen
According to the Gypsum Association's guide to repairing fastener pops, a nail or screw head pushing out of drywall can be caused by:
- Wood framing shrinking after the drywall was installed (the main cause)
- Drywall that was not pressed tightly against the framing when it was fastened
- Framing that is twisted, bent, warped or bowed
- Fasteners of the wrong length, or fasteners driven incorrectly
- Construction adhesive behind the drywall that kept shrinking after the wall was finished
Fine Homebuilding adds one more everyday cause: something striking the wall. Pops can appear soon after a wall is finished or years later.
When to wait before fixing
Timing matters. The Gypsum Association says pops that appear before or during painting should be repaired right away. Pops that show up a month or more into the heating season are usually the result of lumber shrinkage, and it recommends not repairing them until the heating season is over. If you fix them while the framing is still drying out, new pops can appear next to your patch.
If your home is new and pops are appearing in several rooms, check whether your builder's warranty covers drywall touch-ups before you start.
Tools and materials
- Cordless drill or driver with a drywall screw bit (a dimpler bit that stops at the right depth is helpful)
- Drywall screws long enough to bite into the stud (see below)
- Hammer, and a nail set if you have one
- 4- to 6-inch putty knife or taping knife
- Joint compound (pre-mixed lightweight is easiest for small spots)
- Fine sanding sponge or 150 to 220 grit sandpaper
- Primer and matching wall paint, small brush or roller
- Drop cloth, safety glasses, and a dust mask
Choosing screw length: Bob Vila's guide gives a common rule of thumb: the screw should go into the wood stud at least 3/4 inch, so for standard 1/2-inch drywall that means a screw of at least 1-1/4 inches. Don't go much longer than you need; the Gypsum Association notes that overly long fasteners contribute to pops.
Before you start: safety checks
- Know what's behind the wall. Wires and pipes run through studs. Stay directly over the stud where the nail is, keep away from the area directly above and below outlets and switches, and don't drill near the edges of a stud where cables may run. If you're unsure, use a stud finder that also detects live AC wiring.
- Older paint may contain lead. The U.S. EPA warns that sanding painted surfaces in homes built before 1978 can create lead dust. If your home is that old and you don't know whether the paint has been tested, test it first or keep sanding to an absolute minimum and follow EPA's lead-safe practices.
- Wear eye protection when driving screws overhead, and a dust mask when sanding.
Step-by-step: how to fix a nail pop
1. Find the stud and press the panel tight
The popped nail is almost always in a stud (or a ceiling joist). Press the drywall firmly against the framing right next to the pop with the flat of your hand. You may feel the panel move slightly; that gap is what lets the nail work loose.
2. Drive a new screw about 1-1/2 inches away
While still pressing the panel tight, drive a new drywall screw into the same stud, about 1-1/2 inches (40 mm) from the popped nail. This distance comes from both the Gypsum Association and USG's repair instructions. Set the head just below the paper surface, so it leaves a shallow dimple, but don't tear through the paper. Inspectapedia notes that an over-driven screw that cuts the face paper loses holding power.
You should feel the screw bite into solid wood. If it spins freely or goes in too easily, you missed the stud: back it out, find the framing, and try again. A screw that only holds in drywall won't stop the pop.
For a pop that keeps coming back, some pros add a second screw on the other side of the nail, so one screw sits above and one below.
3. Reset or remove the old nail
Now deal with the original fastener. You have two options the Gypsum Association describes:
- Reset it: tap it with a hammer (use a nail set if you have one) so the head sits just below the surface of the drywall.
- Remove it: if it pulls out easily, take it out completely.
After the new screw is in, check the old nail again. Fine Homebuilding recommends resetting it again if needed, or simply removing it.
4. Clean up loose material
Scrape off the loose paint, old compound and any raised paper fibers around the pop with your putty knife, so the area is flat. Fine Homebuilding says that if the paper face is torn or the gypsum core is damaged, fill the gap and cover it with a small piece of mesh tape before you add compound. If the paper is intact, compound alone is enough.
5. Fill with thin coats of joint compound
Load a small amount of compound on your knife and press it into each dimple (the reset nail and the new screw). Scrape across the surface so the dimple is filled and the surrounding wall is clean.
Compound shrinks as it dries, so one coat is rarely enough. Let it dry completely (follow the drying time on the container), then apply a second, slightly wider coat. Fine Homebuilding describes three thin coats for fastener repairs, feathered out so the edges blend into the wall.
6. Sand lightly
Once the last coat is fully dry, sand lightly with a fine sanding sponge until the spot is smooth and flush. Run your fingertips across it; you shouldn't feel a ridge. Don't sand through to the paper.
7. Prime and paint
Bare joint compound absorbs paint differently than the wall around it, so spot-prime the patch before painting, as USG's repair-kit instructions advise. Then paint. On flat or matte walls a touch-up may blend in; on eggshell or satin finishes you may need to repaint the wall from corner to corner to avoid a visible patch.
Common mistakes to avoid
- Only hammering the nail back in. The panel is still loose, so the nail tends to work back out.
- Missing the stud. The new screw must go into framing, not just drywall.
- Driving screws too deep. Torn face paper weakens the hold and makes a bigger patch.
- One thick coat of compound. It cracks and shrinks; two or three thin coats look better.
- Painting over unprimed compound. It often shows through as a dull spot.
When to call a pro
A few pops are a normal, easy DIY job. Get a drywall contractor or builder involved if you notice:
- Dozens of pops across a wall or ceiling, or new pops appearing every season
- Long cracks, bulging panels, or ceiling drywall that is sagging
- Pops along with water stains, soft drywall, or a musty smell, which can point to a leak
- Doors that suddenly stick together with new wall cracks, which can be a sign of structural movement worth having inspected
Sagging ceiling drywall in particular can be a safety issue and should be checked promptly.
Related guides
- How to Patch a Hole in Drywall (By Hole Size)
- How to Fix a Sticking Interior Door
- Fall Home Maintenance Checklist: 15 Tasks Before Winter
Sources and further reading
- Gypsum Association GA-222: Repairing Screw or Nail Pops (PDF)
- USG Sheetrock Brand Drywall Repair Kits: Application Tips (PDF)
- Fine Homebuilding: Repairing Popped Drywall Fasteners
- Bob Vila: Popped Nails? Repair Your Drywall with These Tips
- U.S. EPA: Lead-Safe Renovation for Homeowners
Sources checked October 26, 2026. If something here does not match your product's instructions, follow the manufacturer and let us know.
Frequently asked questions
What causes drywall nail pops?
The Gypsum Association lists lumber shrinkage after the drywall was hung as the main cause, along with drywall that was not pressed tightly against the framing, twisted or bowed framing, fasteners of the wrong length, poor fastening, and shrinking construction adhesive. That is why pops are common in newer homes.
Can I just hammer the popped nail back in?
You can, but on its own it often doesn't last, because the panel is still loose against the stud. The repair recommended by the Gypsum Association and USG is to drive a new fastener into the same stud about 1-1/2 inches from the pop while pressing the drywall tight, then reset or remove the old nail.
Should I fix nail pops in winter?
If pops show up a month or more into the heating season, the Gypsum Association says they are usually caused by lumber shrinkage and should not be repaired until the heating season ends. Pops that appear before or during painting should be fixed right away.
What length drywall screw should I use for a nail pop?
Use a screw long enough to bite well into the stud. A common rule of thumb is at least 3/4 inch of penetration into wood framing, which means about a 1-1/4 inch drywall screw for 1/2-inch drywall. Avoid much longer screws; the Gypsum Association notes that overly long fasteners contribute to pops.
Why do the pops keep coming back in the same spot?
Usually the panel is still moving against the framing: the stud is still drying, the framing is twisted, or the new screw missed the stud. Make sure the screw actually hits wood (you should feel resistance), and if a whole wall or ceiling keeps popping, have a drywall contractor look at the framing.