How to Regrout Tile: Remove Old Grout and Apply New
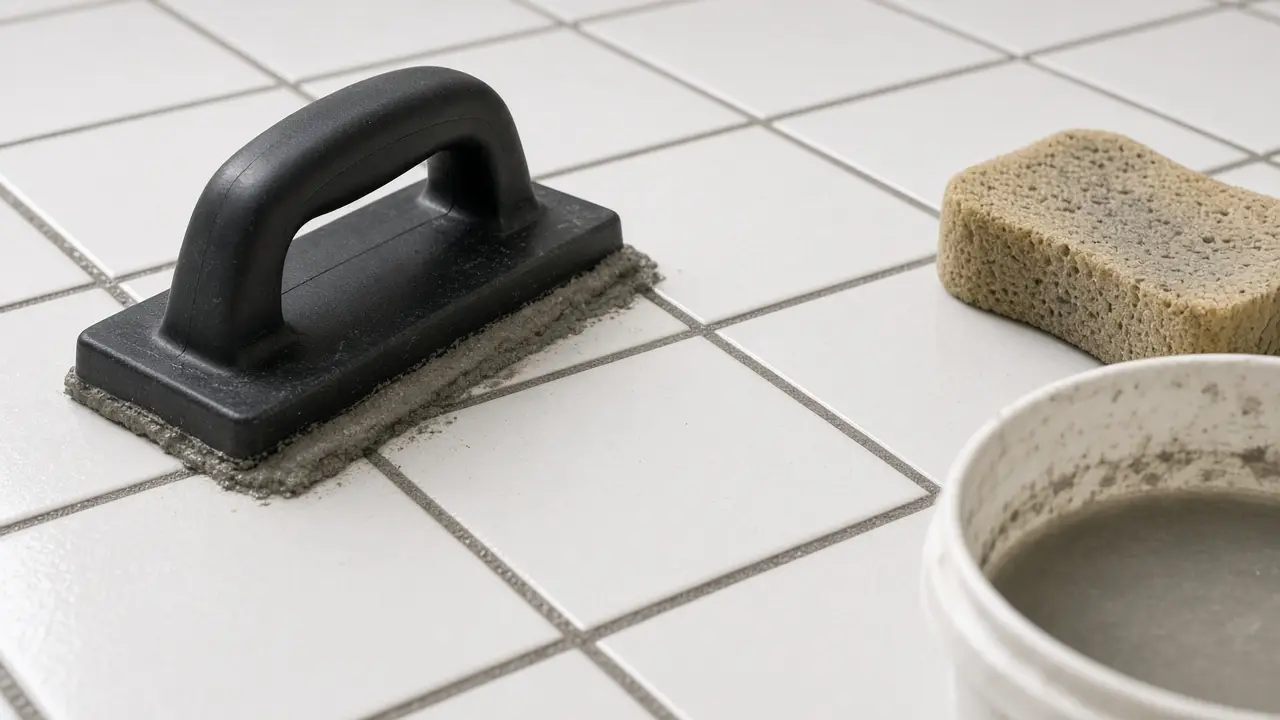
Cracked, crumbling or deeply stained grout makes tile look old and can let water seep behind it. Regrouting is time-consuming but straightforward, and it can make a bathroom or kitchen floor look nearly new. This guide covers replacing cement-based grout in small to medium areas.
When to regrout vs. clean
- Clean if the grout is just dirty or lightly stained. A grout brush and a cleaner may be all you need.
- Regrout if grout is cracked, crumbling, missing or permanently stained.
- Call a pro if tiles are loose, cracked or hollow-sounding, which may mean water damage under the tile.
Tools and materials
- Grout removal tool (manual carbide grout saw) or an oscillating multi-tool with a grout blade
- Utility knife
- Shop vacuum
- Grout (sanded or unsanded depending on joint width, or pre-mixed)
- Bucket, mixing paddle or margin trowel
- Rubber grout float
- Large grout sponge and a second bucket of clean water
- Microfiber cloth
- Grout sealer (for cement-based grout)
- Safety glasses, dust mask, gloves, knee pads
Step 1: Remove the old grout
- Wear safety glasses and a dust mask. Grout dust contains silica.
- Using a grout saw or oscillating tool, scrape out the old grout from each joint. Work carefully to avoid chipping tile edges.
- Remove grout to a consistent depth, typically at least 1/8 inch, or as the grout manufacturer specifies. Deeper removal gives the new grout more to grip.
- Vacuum thoroughly to remove dust and debris.
Tip: Oscillating tools are faster but easier to slip with. A manual grout saw is slower but more controlled, which is better for beginners and for small areas.
Step 2: Clean the joints
Wipe the tile and joints with a damp sponge to remove remaining dust. Let everything dry as recommended by the grout manufacturer.
Step 3: Choose and mix the grout
- Unsanded grout: for narrow joints (often under 1/8 inch).
- Sanded grout: for wider joints.
- Pre-mixed grout: convenient, no mixing needed.
- Epoxy grout: stain-resistant and durable but harder to work with.
Follow the manufacturer's instructions for water ratio. Mix to a smooth consistency, often compared to peanut butter. Let it slake (rest) if the instructions say to, then remix briefly. Mix only what you can use in the working time on the bag.
Step 4: Apply the grout
- Scoop some grout onto the tile with the float.
- Hold the float at about a 45-degree angle and spread grout diagonally across the joints, pressing firmly to pack it in.
- Work in small sections, a few square feet at a time.
- Scrape off excess grout by holding the float nearly perpendicular and moving diagonally across the tiles.
Step 5: Clean the tile surface
- Wait for the time specified on the bag (often 15 to 30 minutes) until the grout firms up slightly.
- Wring out the sponge until it's damp, not wet. Excess water weakens grout.
- Wipe diagonally across the tiles in a light circular motion to remove haze and smooth the joints.
- Rinse the sponge often in clean water.
- Avoid pulling grout out of the joints.
Step 6: Remove grout haze
After the grout dries (per instructions), a thin haze often remains on tile. Buff it off with a dry microfiber cloth.
Step 7: Let it cure
Keep the area dry and avoid foot traffic as the manufacturer directs, commonly 24 to 72 hours before water exposure.
Step 8: Seal the grout
Once cured (the sealer label will specify how long to wait, sometimes several days to weeks for some products), apply a penetrating grout sealer with a small brush or applicator bottle. Wipe excess off the tile. Reseal periodically as recommended by the sealer manufacturer.
Change of plane: caulk, not grout
Where tile meets a tub, countertop, or a different wall plane (inside corners), use flexible caulk instead of grout. Grout in these joints tends to crack because surfaces move slightly. See our bathtub caulking guide.
Common mistakes
- Too much water in mixing or cleaning: weakens grout and causes discoloration.
- Not removing enough old grout: new grout won't bond well.
- Working too large an area: grout dries before you can clean it.
- Skipping sealer on cement grout.
Safety notes
- Wear a dust mask or respirator when removing grout; grout contains crystalline silica.
- Wear safety glasses and gloves. Cement-based products can irritate skin.
- Use knee pads for floors.
When to call a professional
- Large areas, such as an entire shower or kitchen floor
- Loose or cracked tiles
- Signs of water damage, mold behind tile, or a soft floor
Regrouting is a patient person's job, but the results are dramatic. Take your time removing old grout, and the new grout will last.
Related guides
- How to Recaulk a Bathtub: Step-by-Step for a Clean, Watertight Seal
- How to Patch a Hole in Drywall (By Hole Size)
Sources and further reading
- EPA: A brief guide to mold, moisture and your home
- EPA: Mold
- The caulk or grout manufacturer's label for cure time before water exposure
Sources checked October 23, 2026. If something here does not match your product's manual, follow the manual and let us know.
Frequently asked questions
Should I use sanded or unsanded grout?
Grout manufacturers generally recommend unsanded grout for narrow joints (often under 1/8 inch) and sanded grout for wider joints. Check the bag for the joint widths it's rated for.
Can I grout over existing grout?
New grout needs depth to bond. Most guidance is to remove old grout to a depth of at least about 1/8 inch, or as the grout manufacturer specifies, before applying new grout.
How long should grout cure before showering?
It varies by product. Many cement grouts need 24 to 72 hours before water exposure. Follow the manufacturer's directions.
Do I need to seal grout?
Cement-based grout is porous, and sealing helps resist stains and moisture. Epoxy grouts generally don't need sealing. Check the product label.