How to Test and Replace Smoke Alarm Batteries (and When to Replace the Alarm)
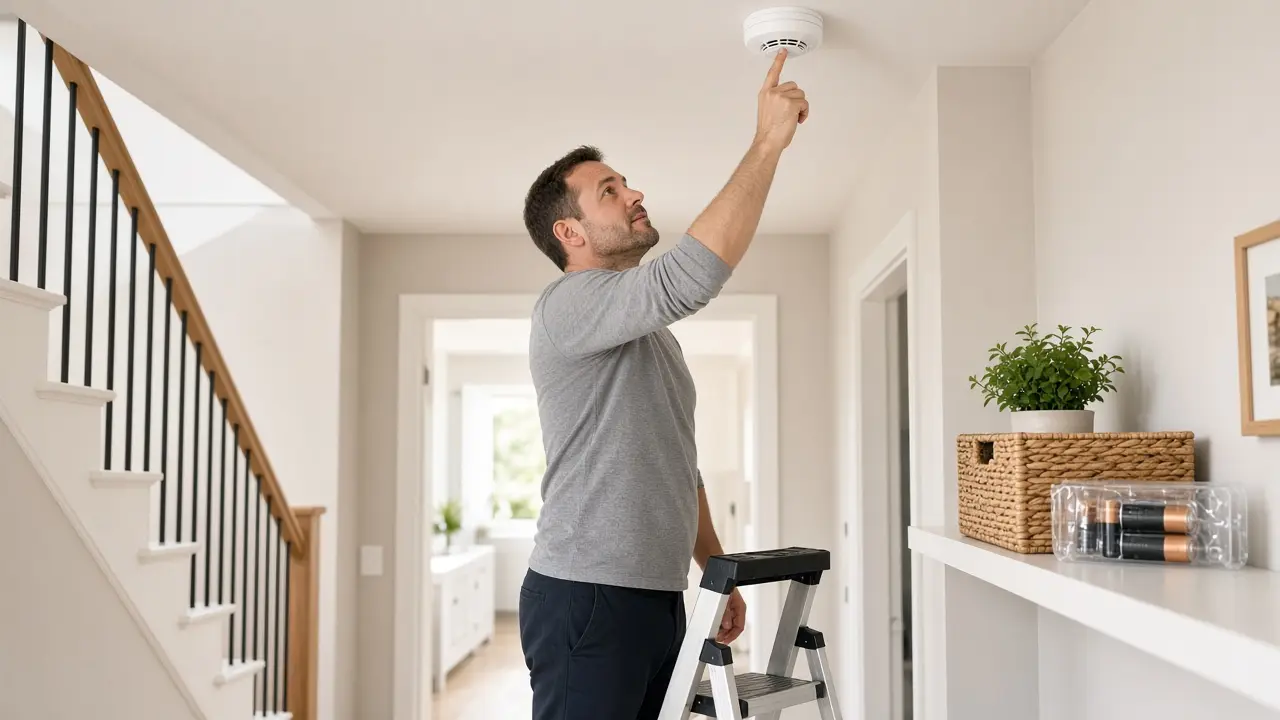
A smoke alarm with a dead or missing battery protects no one. The U.S. Fire Administration puts it bluntly: an alarm with a dead or missing battery is the same as having no smoke alarm at all. The good news is that testing your alarms and changing their batteries takes a few minutes and no special skills. This guide covers how to test, how to change the battery in the most common alarm types, how to stop the annoying low-battery chirp, and how to tell when it's time to replace the whole alarm instead.
Safety first: If an alarm is sounding a loud, continuous pattern of three beeps and you don't know why, treat it as a real fire. Get everyone out, call 911 from outside, and stay out. The steps below are for routine maintenance only. Never test an alarm with an open flame or by lighting something under it.
Know which type of smoke alarm you have
Before you buy batteries, figure out how each alarm is powered. The U.S. Fire Administration describes three common setups:
- Battery-only, replaceable battery. Usually a 9-volt battery (some models use AA). No wires go into the ceiling.
- Battery-only, sealed 10-year battery. Often marked "10-year" or "long-life" on the label. You can't change this battery. The whole alarm gets replaced when it reaches end of life.
- Hardwired with battery backup. Wired into your home's electrical system, often interconnected so one alarm sets off the others. It usually has a small green power light and a backup battery that still needs changing.
If you're not sure, twist the alarm off its mounting plate (usually counterclockwise, following the "off" arrow) and look at the back. A wiring plug means it's hardwired. The label on the back shows the model, the battery type, and the date of manufacture, which you'll need later.
What you need
- A sturdy step stool or step ladder (not a chair)
- The correct replacement batteries, as listed on the alarm's label or manual
- A soft brush or the brush attachment of a vacuum, if your manual recommends cleaning
- A marker or a piece of tape to write the date you changed the battery
- A helper, if you have interconnected alarms, to listen in other rooms
Step 1: Test every alarm
Do this once a month, as recommended by both NFPA and the U.S. Fire Administration.
- Warn everyone in the house first. The sound is very loud. Consider hearing protection if you have to stand close.
- Press and hold the Test button. Kidde's support page says to hold it for at least 5 seconds on its models. Check your own manual, since timing varies by brand.
- Listen for the full, loud alarm sound. On interconnected systems, every connected alarm should sound when you test one. Have a helper confirm the alarms in other rooms.
- Release the button. On many smoke-only models, the sound stops when you let go.
If the alarm doesn't sound: change the battery (Step 2) and test again. If it still doesn't sound, or it's over 10 years old, replace the alarm. NFPA's guidance is the same: no sound means a new battery, or a new unit if it's more than 10 years old.
Step 2: Replace the battery
Do this at least once a year for replaceable-battery alarms and for hardwired backup batteries, and any time the alarm chirps for low battery. Many people pick a date they'll remember and do every alarm at once.
Battery-only alarms (replaceable battery)
- Twist the alarm off its mounting plate in the direction of the "off" arrow. If it won't turn, check for a tamper-resist pin or locking tab. Kidde notes these must be removed or pushed in before the alarm will twist off.
- Open the battery door or drawer. Some are on the back (rear-loading), others pop open on the front.
- Remove the old battery and put in the new one, lining up the plus (+) and minus (-) terminals with the markings in the compartment.
- Close the door fully. On many alarms, a missing or badly seated battery stops the door from closing, and that's on purpose.
- Press the Test button to confirm it works, then twist it back onto the plate.
Hardwired alarms with battery backup
Hardwired alarms are connected to household wiring, so treat the wiring with respect.
- If your manual tells you to, switch off the circuit breaker that feeds the smoke alarms before taking the unit down. Kidde's reset procedure starts with turning off power at the breaker. With the power off, the other interconnected alarms may also lose their main power, which is normal.
- Twist the alarm off its mounting plate.
- Unplug the wiring harness from the back of the alarm. Kidde's quick-connect plugs release when you squeeze the plastic prongs. Don't pull on the wires themselves, and don't loosen any wire connections in the ceiling box.
- Replace the backup battery, matching + and -.
- Press Test to confirm the alarm works on battery power alone.
- Plug the harness back in until it clicks, twist the alarm back onto its plate, and turn the breaker back on. The green power light should come back on.
Only qualified electricians should install hardwired alarms, according to both NFPA and the U.S. Fire Administration. Swapping a backup battery is fine for a homeowner. Replacing a hardwired unit or changing wiring is a job for an electrician unless you're confident and allowed to do it where you live.
Alarms with a sealed 10-year battery
You can't replace the battery. Test it monthly, and replace the entire alarm on the schedule in its manual. If it chirps for low battery or end of life, the whole unit is due.
Step 3: Stop a chirp that won't quit
A single chirp every 30 or 60 seconds means the battery is low, according to NFPA. If you've already put in a fresh battery and it still chirps, work through this list:
- Check the battery. Make sure it's the type the label calls for, it's fully seated, the terminals are lined up correctly, and the door closed properly.
- End an accidental hush. Some alarms enter hush mode when you press the button while handling them. Kidde's manuals say pressing the Test button again ends the hush cycle.
- Reset the alarm. Kidde explains that an alarm can remember an error, such as a weak battery, even after you fix it. For battery-only units, remove the battery, press and hold the Test button for at least 15 seconds, then reinstall the battery. For hardwired units, turn off the breaker, disconnect the alarm, remove the battery, hold Test for 15 seconds, then reconnect power and reinstall the battery. It may chirp once when power returns but shouldn't chirp after that.
- Find the right alarm. Chirps are hard to locate. Stand under each alarm for a minute and confirm which one it is before replacing anything. Don't forget CO alarms, which also chirp.
- Check the age. NFPA says chirping that continues after a battery change means the alarm is at the end of its life and must be replaced.
When to replace the whole smoke alarm
The U.S. Fire Administration and NFPA both say to replace smoke alarms 10 years from the date of manufacture. Sensors wear out over time, even if the test button still produces a sound.
Replace an alarm when:
- It's 10 years past the manufacture date printed on the back (or the manufacturer's end-of-life date for sealed-battery models)
- It doesn't sound when tested, even with a fresh battery
- It keeps chirping after a battery change and a reset
- It's damaged, painted over, or yellowed, or the manual says it's at end of life
When buying new alarms, NFPA advises choosing one listed by a nationally recognized testing laboratory. The U.S. Fire Administration recommends having both ionization and photoelectric protection, either as separate alarms or as dual-sensor alarms, and choosing interconnected alarms so that when one sounds, they all sound. Your city or state may require a specific type, so check with your local fire marshal. Some fire departments offer free or low-cost smoke alarms and installation; call your local fire department's non-emergency number to ask.
Where alarms should be
While you're on the ladder, check that you have enough alarms in the right places. NFPA and the U.S. Fire Administration recommend:
- One inside every bedroom and outside each sleeping area, such as the hallway
- One on every level of the home, including the basement
- Alarms on the ceiling or high on a wall, following the manufacturer's placement instructions
- At least 10 feet from the stove, per NFPA, to cut down on cooking nuisance alarms
Don't disable an alarm that goes off while cooking
It's tempting to pull the battery when the alarm sounds every time you sear a steak. The U.S. Fire Administration warns that removing the battery or disabling an alarm can be a deadly mistake. Instead, open a window or door, press the hush button, and wave a towel to clear the air. If nuisance alarms keep happening, the alarm may be too close to the kitchen or bathroom. NFPA notes that photoelectric alarms are the better type for spots near kitchens and bathrooms, and that newer alarms labeled "helps reduce cooking nuisance alarms" are worth considering when you replace old units.
When to call a pro
Call a licensed electrician if:
- You want to add, move, or replace hardwired alarms, or add interconnection
- The green power light stays off on a hardwired alarm after you've restored the breaker
- You see scorch marks, smell burning near an alarm or its ceiling box, or a breaker trips when the alarm is connected (see our guide on what to do when a breaker keeps tripping)
- Interconnected alarms don't all sound when you test one
If someone in your home is deaf or hard of hearing, ask your fire department or an electrician about alarms with strobe lights or bed shakers, which NFPA describes as options.
Related guides
- Fall Home Maintenance Checklist: 15 Tasks Before Winter
- How to Change a Furnace Filter: Size, MERV Rating and Direction
- Breaker Keeps Tripping? Safe Homeowner Checks
Sources and further reading
- NFPA: Smoke alarm information
- U.S. Fire Administration: Smoke alarms
- Kidde: How do I replace my smoke alarm's battery?
- Kidde: What causes intermittent beeping or chirping?
Sources checked October 25, 2026. If something here does not match your alarm's manual, follow the manual and let us know.
Frequently asked questions
How often should I test my smoke alarms?
At least once a month. NFPA and the U.S. Fire Administration both recommend pressing the test button on every alarm monthly and listening for the loud alarm sound.
How often should I change smoke alarm batteries?
For alarms that run on a replaceable 9-volt battery, and for the backup battery in hardwired alarms, the U.S. Fire Administration says to replace the battery at least once a year. Alarms with a sealed 10-year battery don't get new batteries; you replace the whole alarm when the manufacturer says it's due.
Why is my smoke alarm still chirping after I changed the battery?
Common causes are a battery that isn't seated fully or is in backwards, a battery drawer that didn't close, the wrong battery type, a hush mode that was triggered while you handled the alarm, or an alarm that has reached its end of life. Kidde describes a reset (remove the battery, hold the test button for about 15 seconds, reinstall). NFPA says chirping that continues after a new battery means the unit must be replaced.
How do I know how old my smoke alarm is?
Take it down and look at the label on the back. It shows the date of manufacture. Smoke alarms must be replaced 10 years after that date, even if the test button still works.
Can I take the battery out if the alarm keeps going off when I cook?
No. The U.S. Fire Administration warns that removing the battery or disabling an alarm can be a deadly mistake. Open a window, press the hush button, and wave a towel to clear the air. If it happens often, move or replace that alarm with a type suited to near-kitchen locations.